| |
|
|
| |
 |
|
| |
|
|
| |
Miscellaneous Blender 3d how to items. |
|
| |
|
|
| |
July 9, 2020 |
|
| |
|
|
| |
Some short Blender 3d how to items.. |
|
| |
|
|
| |
---------- |
|
| |
|
|
| |
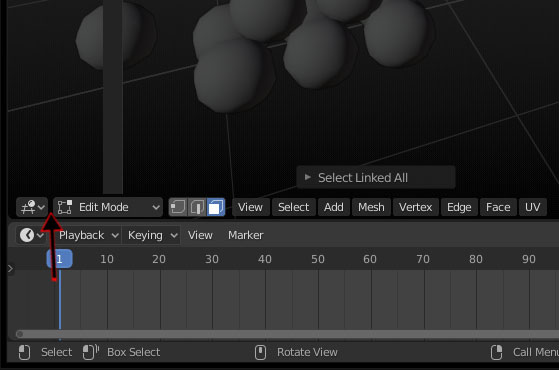
How to simply select vertices: C on the keyboard. |
|
| |
|
|
| |
In the 3d view, change to: Edit Mode |
|
| |
|
|
| |
choose (from the icon next to the edit mode button) either: |
|
| |
vertex select ... edge select ... or face select. |
|
| |
|
|
| |
then (with the mouse placed within the 3d view) hit C on the keyboard. |
|
| |
|
|
| |
|
|
| |
To increase or decrease the area of selection: scroll the mouse wheel. |
|
| |
|
|
| |
To deselect a vertex: hold down the shift key and left click on a vertex. |
|
| |
|
|
| |
To exit the selection mode: Click the right mouse button. |
|
| |
|
|
| |
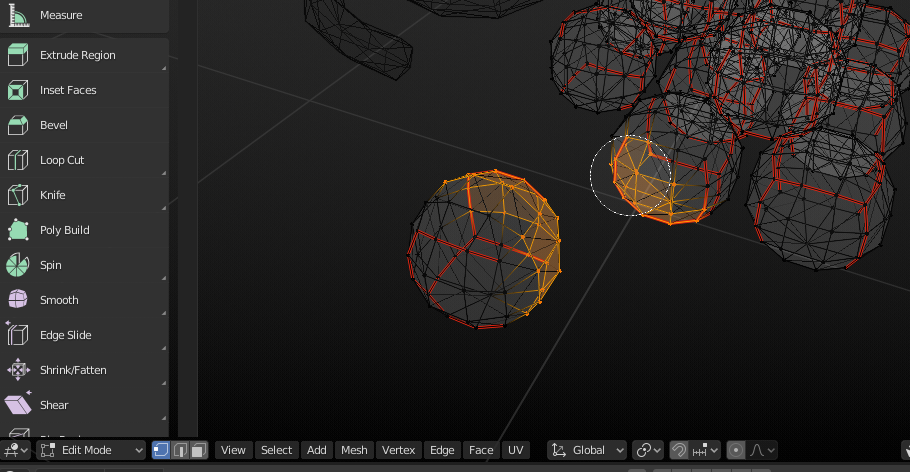
Below is a view of selecting some vertices among a group of spheres: |
|
| |
|
|
| |
 |
|
| |
|
|
| |
---------- |
|
| |
|
|
| |
How to create a separate collection of vertices: |
|
| |
|
|
| |
After having selected a group of vertices, edges, or faces, hit: |
|
| |
|
|
| |
mesh >> separate >> selection |
|
| |
|
|
| |
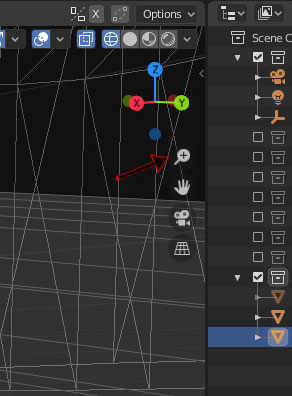
This will create a new collection, in the Scene Collection. |
|
| |
|
|
| |
To rename the new collection: |
|
| |
|
|
| |
right click on the new collection, then >> ID Data >> Rename |
|
| |
|
|
| |
|
|
| |
---------- |
|
| |
|
|
| |
How to delete selected vertices, edges, or faces: |
|
| |
|
|
| |
After having made a selection of vertices to delete: |
|
| |
|
|
| |
Mesh >> Delete >> Vertices |
|
| |
Or, |
|
| |
"X" on the keyboard >> Vertices |
|
| |
|
|
| |
The same applies to edges and faces. |
|
| |
|
|
| |
---------- |
|
| |
|
|
| |
How to select a linked, continuous mesh of vertices, edges, or faces: |
|
| |
|
|
| |
First, in edit mode, select a face (vertex, or edge): |
|
| |
|
|
| |
 |
|
| |
|
|
| |
then hit "ctrl + L" on the keyboard to select the continous mesh: |
|
| |
|
|
| |
 |
|
| |
|
|
| |
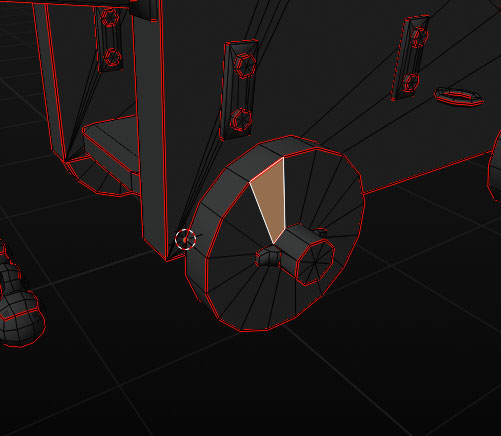
The initial selection of a face, vertex, or edge, |
|
| |
will choose different connected surfaces. |
|
| |
|
|
| |
|
|
| |
---------- |
|
| |
|
|
| |
How to set the toolbar's position: |
|
| |
|
|
| |
click on the area between the toolbar icons: |
|
| |
|
|
| |
 |
|
| |
|
|
| |
this brings up a menu to select the top or bottom position for the toolbar: |
|
| |
|
|
| |
 |
|
| |
|
|
| |
this can also allow it to be flipped back to the bottom: |
|
| |
|
|
| |
---------- |
|
| |
|
|
| |
How to show the normals for the faces: |
|
| |
|
|
| |
We must be in edit mode. |
|
| |
|
|
| |
Within the 3D viewport >> Overlays (icon near top) >> |
|
| |
Viewport Overlays >> Normals (near the bottom of the menu) |
|
| |
>> (then adjust the length of the normal's vector) |
|
| |
|
|
| |
 |
|
| |
|
|
| |
---------- |
|
| |
|
|
| |
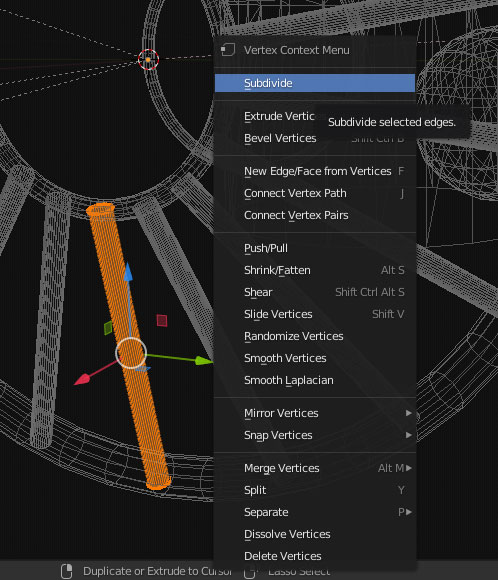
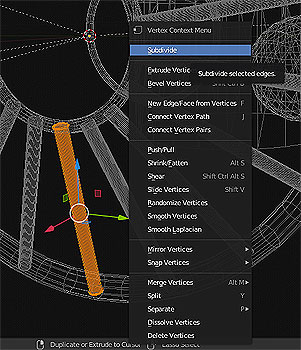
Subdivide |
|
| |
|
|
| |
How to add vertices to an object and split up edges: |
|
| |
|
|
| |
Select an object in edit mode, then select all of the vertices, edges, |
|
| |
to which we want to add new vertices. Then: |
|
| |
|
|
| |
Right-click the mouse (anywhere in the viewport) >> (bring up the menu) >> |
|
| |
>> select: Subdivide |
|
| |
|
|
| |
 |
|
| |
|
|
| |
---------- |
|
| |
|
|
| |
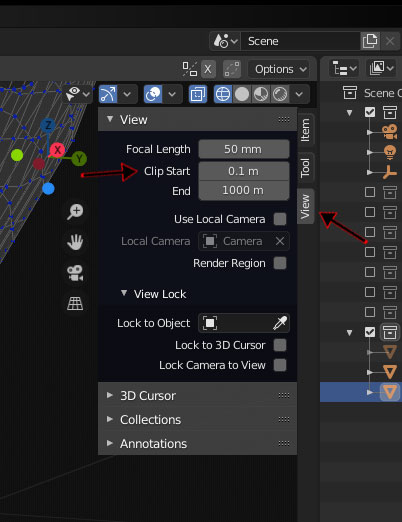
How to change the near clipping plane in the 3d viewer: |
|
| |
|
|
| |
 |
|
| |
|
|
| |
---------- |
|
| |
|
|
| |
How to get more precise with the mouse wheel zooming: |
|
| |
|
|
| |
ctrl + middle-click (the mouse wheel button) |
|
| |
|
|
| |
... or ... |
|
| |
|
|
| |
 |
|
| |
|
|
| |
|
|
| |
---------- |
|
| |
|
|
| |
How to reset the center of rotation origin for the 3d view: |
|
| |
|
|
| |
To reset the 3D view pivot to a more convenient point,
select a vertex, or edge or plane, in Edit Mode, and hit:
"." on the number pad. The "Del" button.
|
|
| |
|
|
| |
|
|
| |
---------- |
|
| |
|
|
| |
|
|
| |
|
|
| |
|
|
| |
back |
|
| |
home |
|
| |
|
|
| |
|
|
| |
|
|